

Dear Crafters,
Have you ever wandered how to make a glamorous Vintage look topper for a card in simple way?
I recently noticed strong tendencies towards the vintage look. This is a great style and brings back the nostalgia about the past and gorgeous ladies and gentlemen. Because we are talking about aged pictures or photographs it is expected to see yellowed brownish greyish or similar pallet colours.
To reflect these tendencies in toppers for cards can be achieved in a very simple way.
LET'S GET STARTED
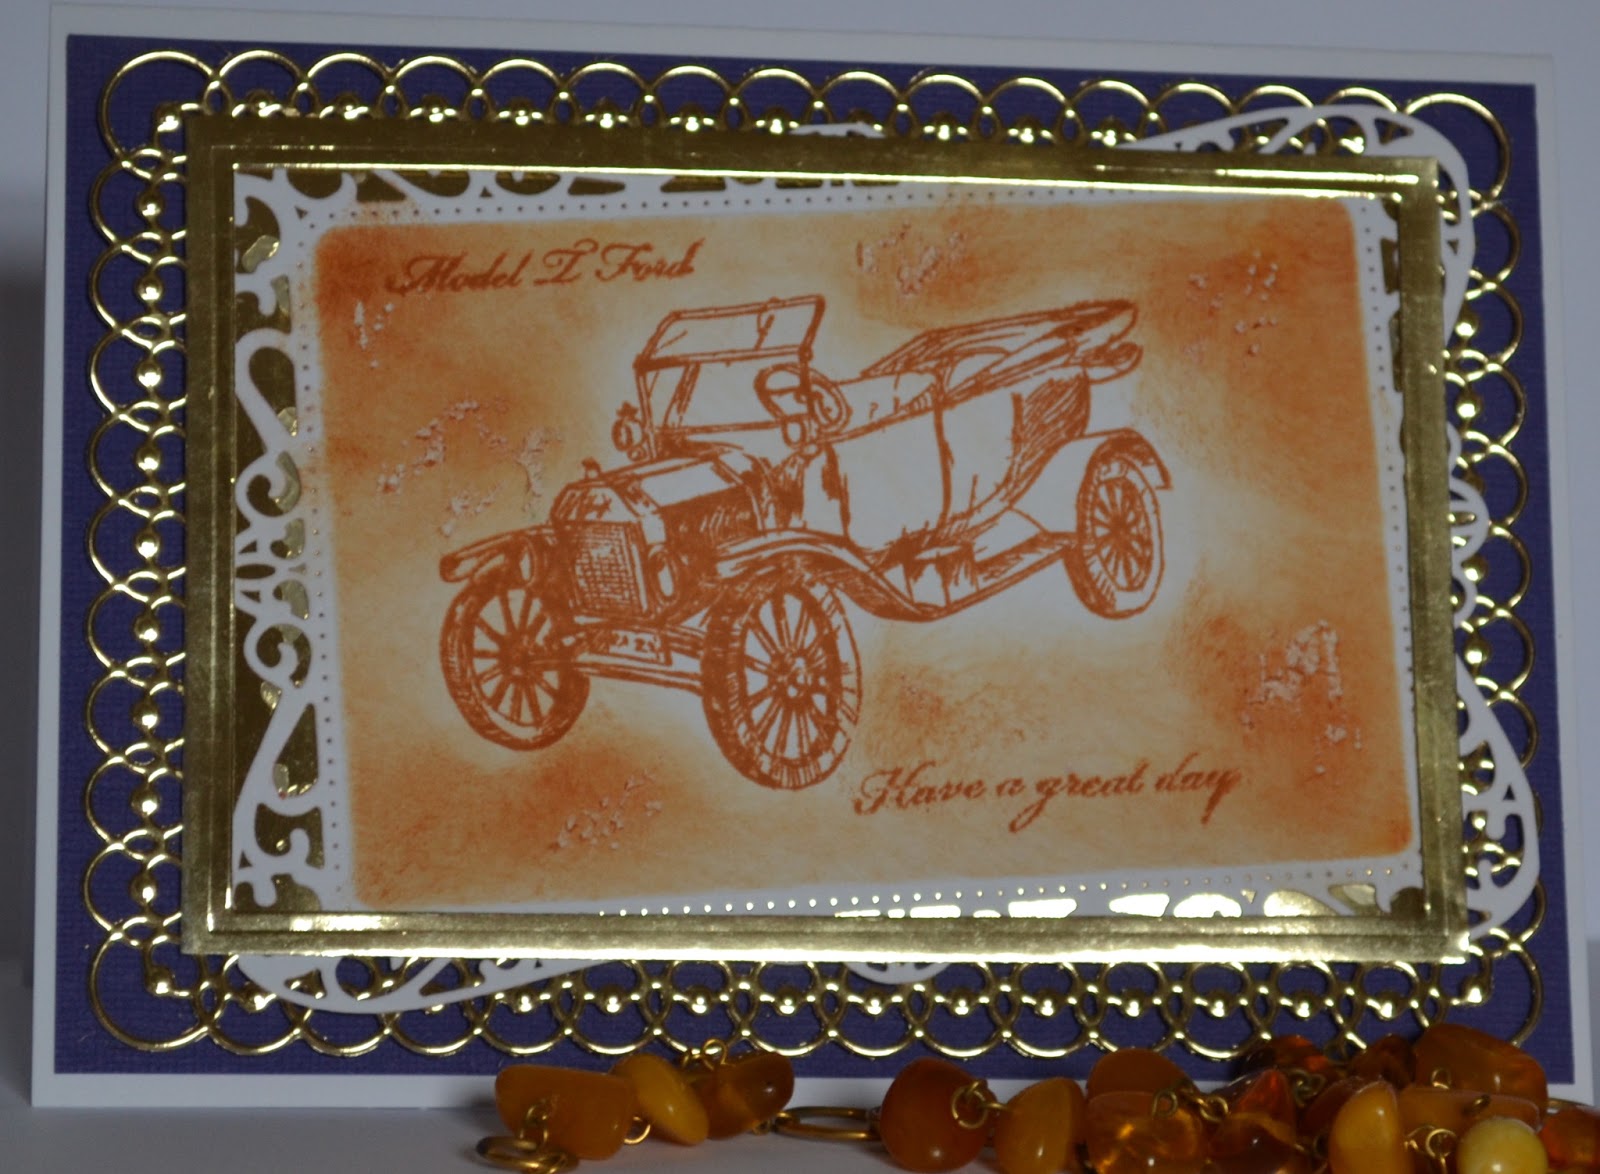
For this particular topper you will need La Blanche stamp, or you can use any stamp which contains a lot of details on it. Spellbinders Gold Labels Four, Distress ink Rusty hinge and of course paper. i would recommend a Centura Pearl white card from Crafter's Companion. It has an extra soft shimmer and creates a more glam look. I use this paper a lot.

Place the stamp on the back and apply the ink evenly.


Ink the die in the same way. I used the pad of ink itself, but if you got a brayer, use this tool. It makes task much easier. After inking the smaller die place it gently over top of stamped image. size bigger die place on a piece of white card. Secure them with re-positional tape.

Die cut and emboss with the machine you have got. Remove the tape. and gently ink the image around the edges while it is still in die. Repeat the same with plain card.
TIP: at this point it is up to you if you colour with ink all white die cut or only edges. with different inking you can create different look.

Gently remove topper from the die and you are done. The new golden die concept with debossing possibilities works along with you. Look at the edges around the topper. Don't you think that debossing with ink trick created an extra dimension in frame?


Now it is up to you how you position your toppers. Play around, explore the possibilities.


Do not stop only on composition. Experiment with different soft pastel colours suitable vintage look.

Use any detailed image stamp for your creations.
I used pastel colour markers to draw certain elements in picture. This look is fast, simple and just stunning. I uploaded a few of my projects to share with you my ideas.
Do not skip it there is one more tip for you!!!
I hope you enjoyed this tutorial and i expect to hear from you soon.


Another TIP. For this purpose i used a plain card not shimmery one.
Bye for today and let me know how did you get along with this project? Or might you got some other tips to share? Would appreciate it a lot.
Sveika!
ReplyDeleteLabai grazus darbbeliai, saunuole! Daug ideju pasisemiau:)
Man tavo blog'a parode Ellinelle, dziaugiuosi atklydusi cia:)
Su praejusiu gimtadieniu. dekui uz apsilankyma. man jusu blogas zada ateme, labai patiko. tikiuosi ateity bendradarbiauti. sekmes
ReplyDelete