


Thanks for stopping by to look at my new 'Thank you' card tutorial
I needed a card to say thanks to one of my friends for help he provided. I decided to use newly received Spellbinders Labels 20 dies and JustRite stamps, featured recently by Sue Wilson, who is loved by the most of craters for her inspirations and elegant designs, on create and craft channel.
I did not follow any guide lines just went along with my imagination to see where it will take me. Final result was very exiting and pleasing. While i was preparing the tutorial for this card i decided to make it more feminine. And the card turned out even more elegant and posh than the first one.
SO LET'S GET STARTED
Products you will need:
- white card (17x27 cm) folded into half. this is a base for your card.
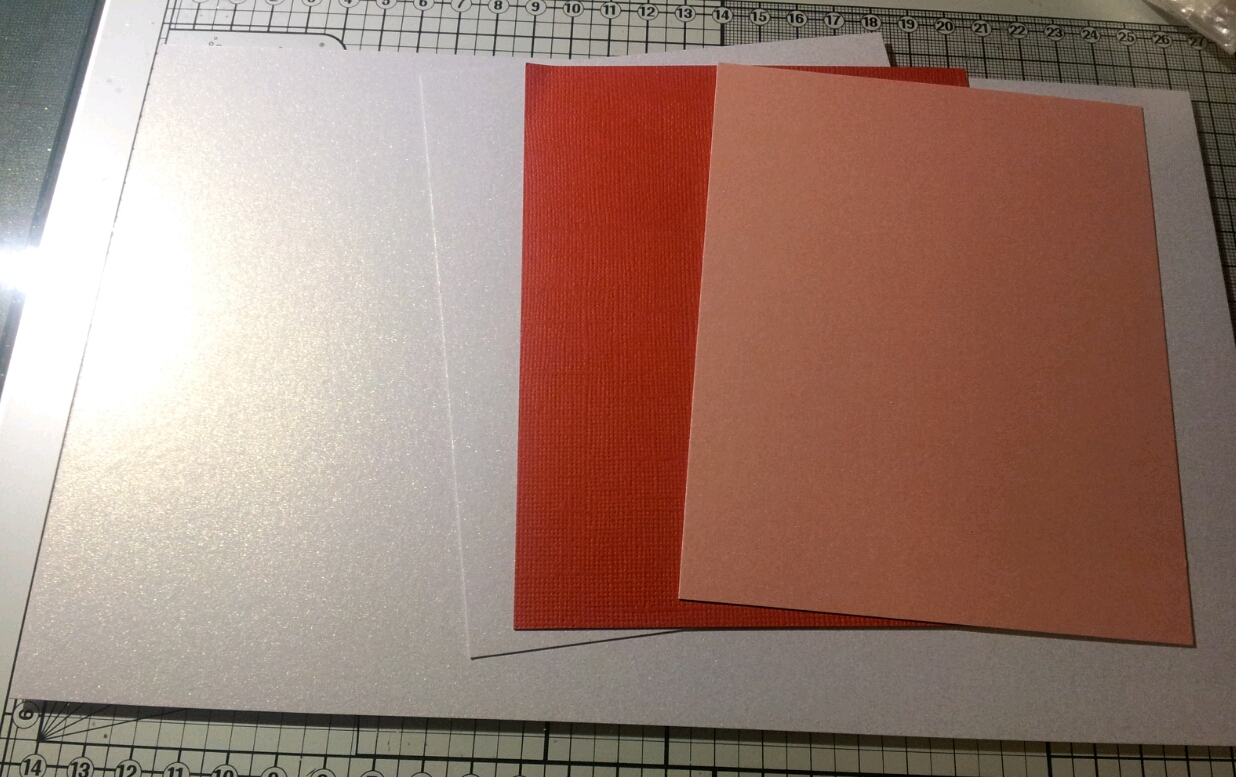
- light pink card (or sky blue if you decided to do masculine card) 14x11 cm. his will be embossed with Spellbinders M-Bossability folder 'Infinity'.

- red card (or bold blue for masculine card) 14,5x11,5 cm for layering.
- white card, the same as base card, 15x12 cm
- Tim Holtz distress ink 'Barn door' or 'Rusty Hinge' for masculine card
- Embossing clear stamp pad.
- Pink embossing powder. or Brown for masculine card. I used WOW embossing powder.

- black sparkling embossing powder. I used 'Black Sparkle' by Papermania.
- Anti-static bag, or can be baby powder applied with brush.
- 2 pink feathers for feminine card
- Dazzlers
Tools you will need
- Spellbinders M-Bossabilities 'Infinity' ES-012 for feminine card or 'Harlequin' ES-013 for masculine card.
- Tonic dies 'Cornflower'

- Spellbinders dies 'Label Twenty' S5-026
- JustRite cling stamps set 'Fleur De Lis Labels Twenty' CL-02210

- Heartfelt Creations dies 'Bella Rose' HCD712
- heat tool for working with embossing powder.
- Foam pad for applying ink
- clear acrylic block for cling stamps
- baby wipes for cleaning your stamps and surface after you ink the card.
Lets make our card

- Emboss the pink or sky blue card with appropriate embossing folder.
- Colour in edges of white card. Use 'Barn doors' or 'Rusty Hinge' ink
- Ink the edges of base card. I inked only edges for masculine card with 'Rustic Hinge', to leave white colour show through, but I coloured all base card for feminine card with 'Barn Doors'.
- Assemble the card. Place pink on dark red card. place the red card on inked white card. Place the last one on base card. Use glue or double sided tape for gluing them together.
- On a spear white card pieces stamp JustRite aperture with clear ink. Do not forget to use antistatic bag before stamping, otherwise embossing powder will stick everywhere and you will not get a neat look.
- Use appropriate colour embossing powder. Tap the excess off and heat emboss the card.
-

- Stamp the sentiment in the middle with clear ink and apply black sparkle embossing powder. heat emboss
-

- Use the third die from Labels Twenty and die cut the sentiment. Do the same on red card or bold blue for masculine look.
- Use the bigger die to die cut from white card the same you used for base card. The same repeat on red or bold blue card.
-


- Ink with appropriate ink the last one white card, while it is still with die. You will get a nice white edge.
-

-

- Ink the edged of die cut with sentiment, but you can leave them white.
- Die cut the flowers elements with swirl from Bella Rose die set and cornflower with Tonic dies. I used only swirl, which I cut into two pieces and cornflower for pink card. But I used the full swirl branch from the Bella Rose set and cornflower with leaves from Tonic set on masculine card.
-

- Assemble the flower.Look below how to do it.
- Assemble the sentiment. READ section 'Sentiment with shadow' first. Use foam pads to give more depth. TIP: If you just inked bigger die cut and it is still not dry, the foam pads might not stick to the card. Use a little dots of glue, it will solve the problem.
-

- Place assembled sentiments with foam pads on the the pink card more the the right top corner.
- Lay down you feathers swirls and flower. If you like glue them into place. I would recommend to use silicon glue. It makes the process easier to move pieces around. Let it dry over night.


Here we are done. Enjoy your work. Take a picture and email to me if you want it would be displayed on this tutorial. let others know what do you think.
Happy crafting!!!!
And do not forget to add me for more tutorials.
How to assemble a flower
- pinch the edges of petals between your fingers using the picking tool to help in this process.


- then place on embossing mat and emboss the middle to give a shape. Optional you can use your palm.


- assemble the flower using glue in the middle and stacking petals one on other.

- place the dazzle in the middle. use a little bit of glue or glue dots for better gluing. I used the silicon glue for blue flower dazzle, because it was much bigger than the middle of flower, so silicon helped to keep it in place, not squashing the petals. TIP: I used alcohol markers to colour the dazzle in brown colour. Originally it was clear.

Sentiment with shadow
- Cut the red or blue die cuts into half.


- add some glue the the back of mane labels and place the cut into two pieces from the back so that you could see a little bit of their edge. TIP: When you place the shadows behind the mane labels check that top and bottom would be neat and the cut edges not visible.


Mobile posting makes a mess from . sorry about .will sour out everything tomorrow.
ReplyDeleteGreat tutorial !
ReplyDelete